


Find out more
03 December 2020
The Artist magazine
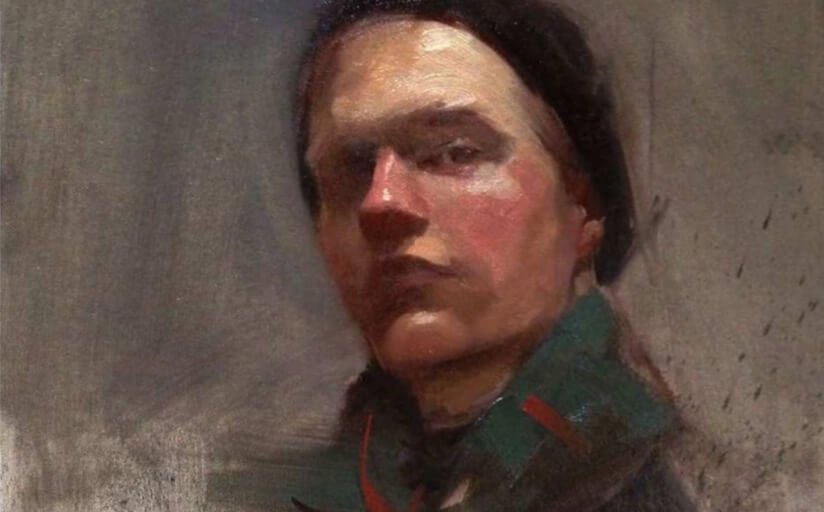
Wellington College Art Teacher, Archie Wardlaw (OW) who featured in BBC’s Portrait Artist of the Year show, shares some tips with The Artist magazine on How to Paint Eyes and Capture a Likeness.
How to Capture a Likeness in a Portrait
Archie Wardlaw reveals his tips for painting a likeness in oils, with particular emphasis on eyes
A portrait can one be of the trickiest subjects to paint. Perhaps this is why it holds such enduring appeal. Cracking the puzzle of capturing someone on canvas is both challenging and therefore so rewarding when done well. The problem is largely one of proportions as your subject is a moving target and to make it harder we have evolved to recognise tiny differences in faces that mean a few millimetres can make or break achieving a likeness.
Setting up
The portrait starts before you even begin to paint. The way in which you light your subject can create a mood or narrative; natural light is comparatively cool and soft whereas most artificial light is warmer and can be used for more dramatic contrasts. I tend to use both sources depending on what effect I need.
I like to stand at the easel, which allows me to step back regularly and see the painting from a distance. This is fine if your subject is standing but if they are sitting you will be seeing a lot of the top of their head so easily transportable boxes to raise your sitter will help massively.
Capturing a likeness
The start of the painting is probably the most important stage. It is easy to rush into getting paint down, but care taken early on pays dividends later. Composition, scale, gesture and the overall proportions need to be sorted from the start.
I begin my portraits with an egg. Well not just an egg but the sitter’s egg. Try not to put down a generic shape for the head assuming that putting in the features will sort the likeness later. If the egg isn’t right the rest won’t be!
I find that putting a line down through where the middle of the nose will be and then intersecting that line at right angles with a line through the eyes is a great way to start to divide up the portrait and it sets the tilt and direction of the head. From there I work on softly blocking in the main shapes of the darks in the face paying attention to the temperature of the darks (towards red or blue). These are the downward planes of the face and are usually eye sockets, underneath the nose, the upper lip and underneath the lower lip.
The likeness should be apparent at this stage with only the dark shapes blocked in. If it isn’t, keep moving them around and keep edges fairly soft.
Still using the principle of light-to-dark and lean-to-fat, start massing in the darker lights keeping the paint fairly thin so that the lightest lights can be put on top easily.
At this stage there should still be no details. Try to think about painting a ‘fleshy skull’. This means concentrating on the overall three-dimensional form of the head, blocking in the planes of the skull but at the same time getting the skin tones and the softness of the face.

Eye Study
Finishing Touches
When to call a portrait ‘finished’ is a matter of choice and style. If you have said all you wanted to say there is no need to go into details. If you do want a fully realised portrait then always keep the overall aim in mind; it is easy to lose the wood for the trees. Eyes are a tricky area and often overworked. Build the planes of the eyelids around the eyes rather than thinking too much about the whites, iris and pupils – less is more!

Published January 2021
Prev article
Next article

